

The Abandoned Museum · Solution appendix
Case 29 · Spoilers
Murderer Hugh (H) R1C8
Vicky is at R4C9 and shares Main Gallery with only Hugh.
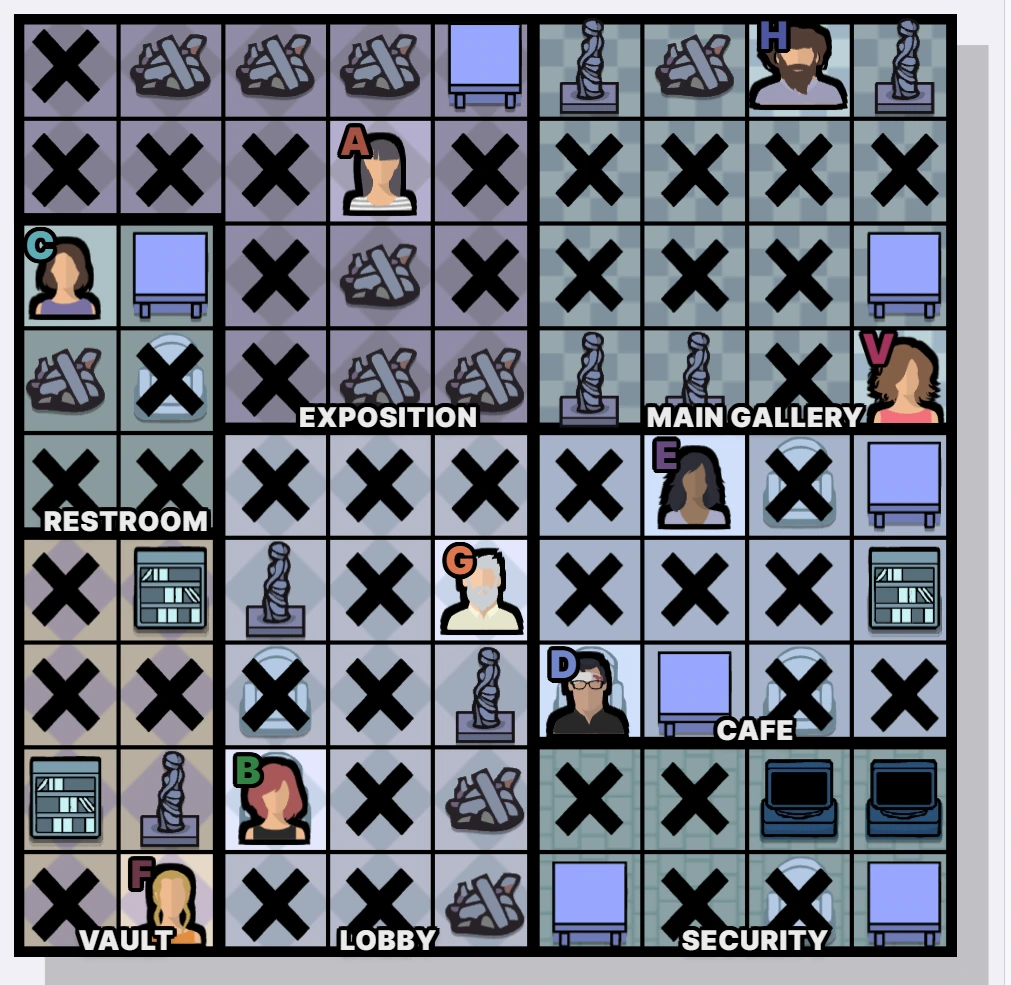
| ID | Person | Square |
|---|---|---|
| A | Alysson | R2C4 |
| B | Brenda | R8C3 |
| C | Cynthia | R3C1 |
| D | Dylan | R7C6 |
| E | Elsa | R5C7 |
| F | Freya | R9C2 |
| G | George | R6C5 |
| H | Hugh | R1C8 |
| V | Vicky | R4C9 |
Deduction steps
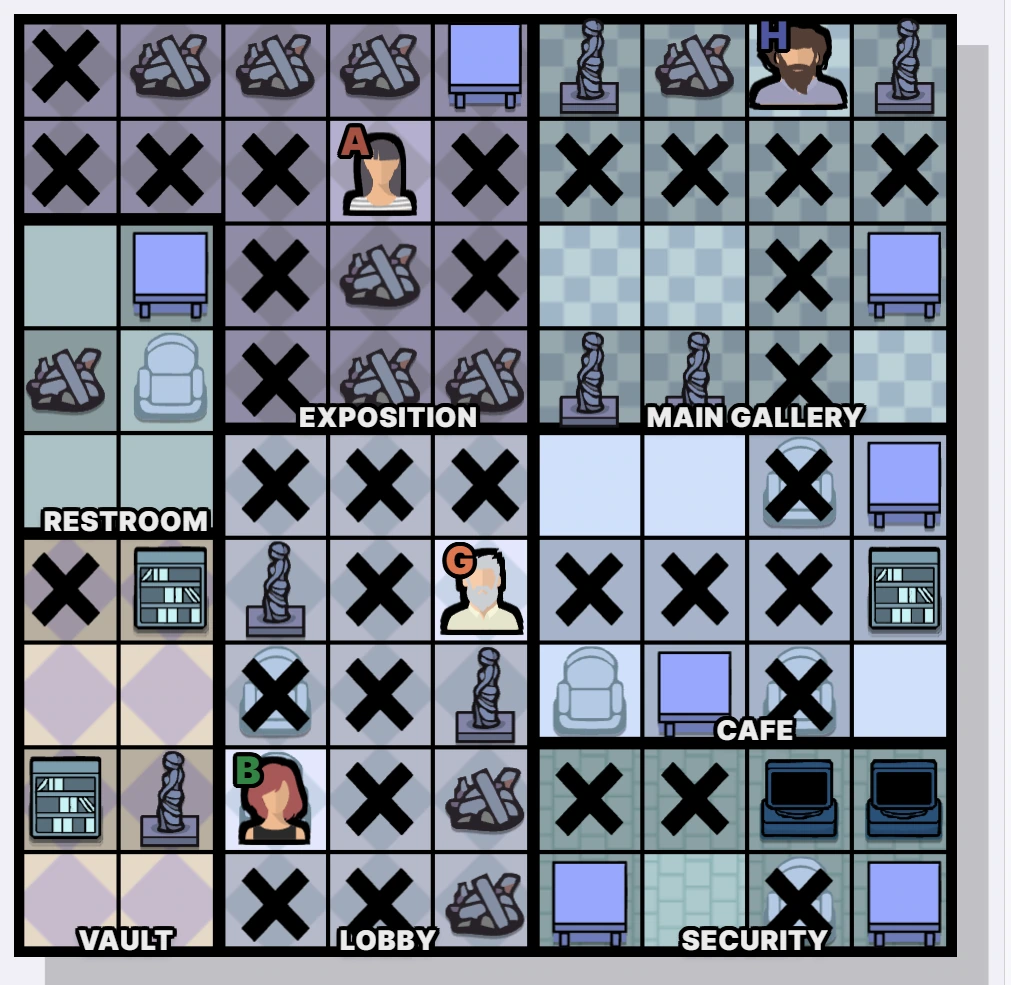
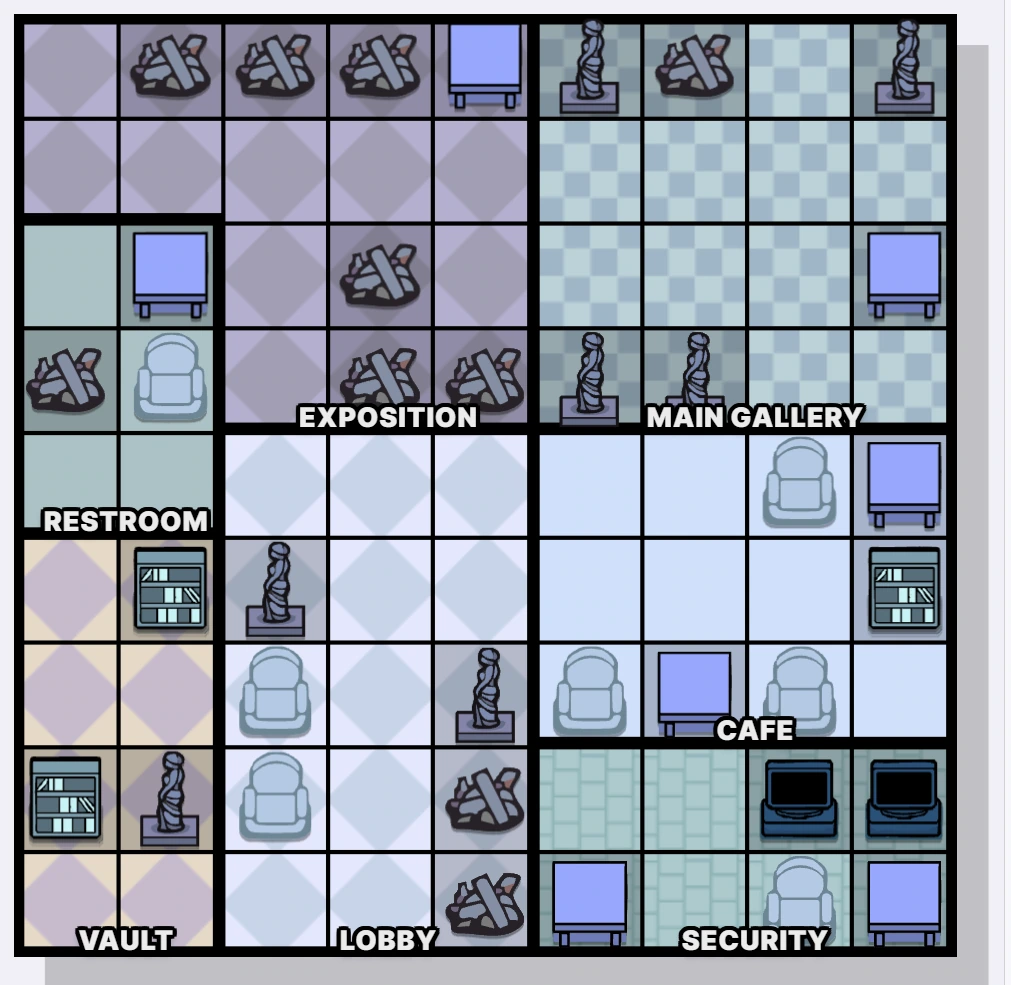
- Reserve column 1 for C. B and E each need a man in an area containing a chair. H cannot fit either pair, leaving D and G. Keeping column 1 for C rules out the Restroom for a pair.
- G needs the Lobby. Whether G shares it with B or E, someone takes its chair in column 3. Exclude the rest of that column. A is one column west of G, leaving columns 2 and 4 for A.
- The northernmost option for A is row 2, so C must be below it. Rule out R1C1 and R2C1. The only row 1 crossing left is R1C8.
- The Cafe has one chair for its pair. With its row and column reserved, G goes in the Lobby at R6C5 and B sits at R8C3. A takes R2C4. D and E take R7C6 and R5C7 in the Cafe.
- H takes the rubble neighbor at R1C8. F takes the statue neighbor at R9C2. C goes in the westmost column at R3C1 and V takes R4C9.